Custom Textures
info
Replacing textures is the easiest way to start modding. I recommend starting here if you're new to modding Unreal Engine games.
Prerequisites
- Photoshop, GIMP, paint.net or alternative
- FModel a tool for extracting files from game packages
(.pak).
Extracting Textures from the Game Files
To start, we need to extract textures from the game packages.
- Open either
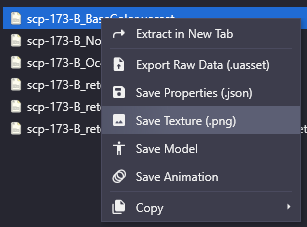
FModelorUModel(FModel is recommended for its ease of use and continuous support). - Locate the texture in the game files that you want to modify, for instance
SCPPandemic/Characters/173-B/Textures/scp-173-B_BaseColor. - Right-click on the texture and select
Save Texture .pngto extract it.
- Edit and export the texture using the image editing software of your choice. For Unreal Engine, it is recommended to use
.TGAor.PNG.
Reimporting Your Textures in Unreal Engine
- Open your Unreal Engine mod project and create a folder structure that matches the location of the extracted texture. In the case of our SCP-173 example, it would be as follows:
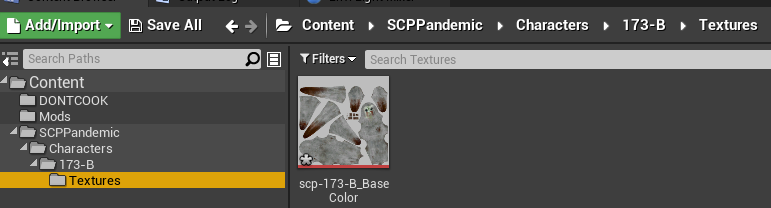
Content > SCPPandemic > Characters > 173-B > Textures
- Once all files have been reimported, you can package your mod.
Your texture should now be visible in-game!
tip
Rather than creating the folders manually, you may simply drag & drop the extracted folders, this will automatically create the hierarchy for you.